World's Greatest Pickled Egg Recipe

One of the best parts of having your own chickens is when you get to the point when you have "extra" eggs. All of a sudden you realize you have more eggs than you can eat, and that's a great milestone to reach.My favorite thing to do when we get a nice big batch of "extra" eggs is to make pickled eggs. Now, I'm well aware that this is an acquired taste, and a lot of people really hate pickled eggs. But, I also know that this particular recipe turned my egg hating best friend Lori into a pickled egg fanatic. It's a miracle worker I tell ya!This is also a great way to store eggs - they only get better with time. I love giving them out during the holidays and bringing them to parties - anything to get people to give them a chance.
Pickled Eggs - Ingredients
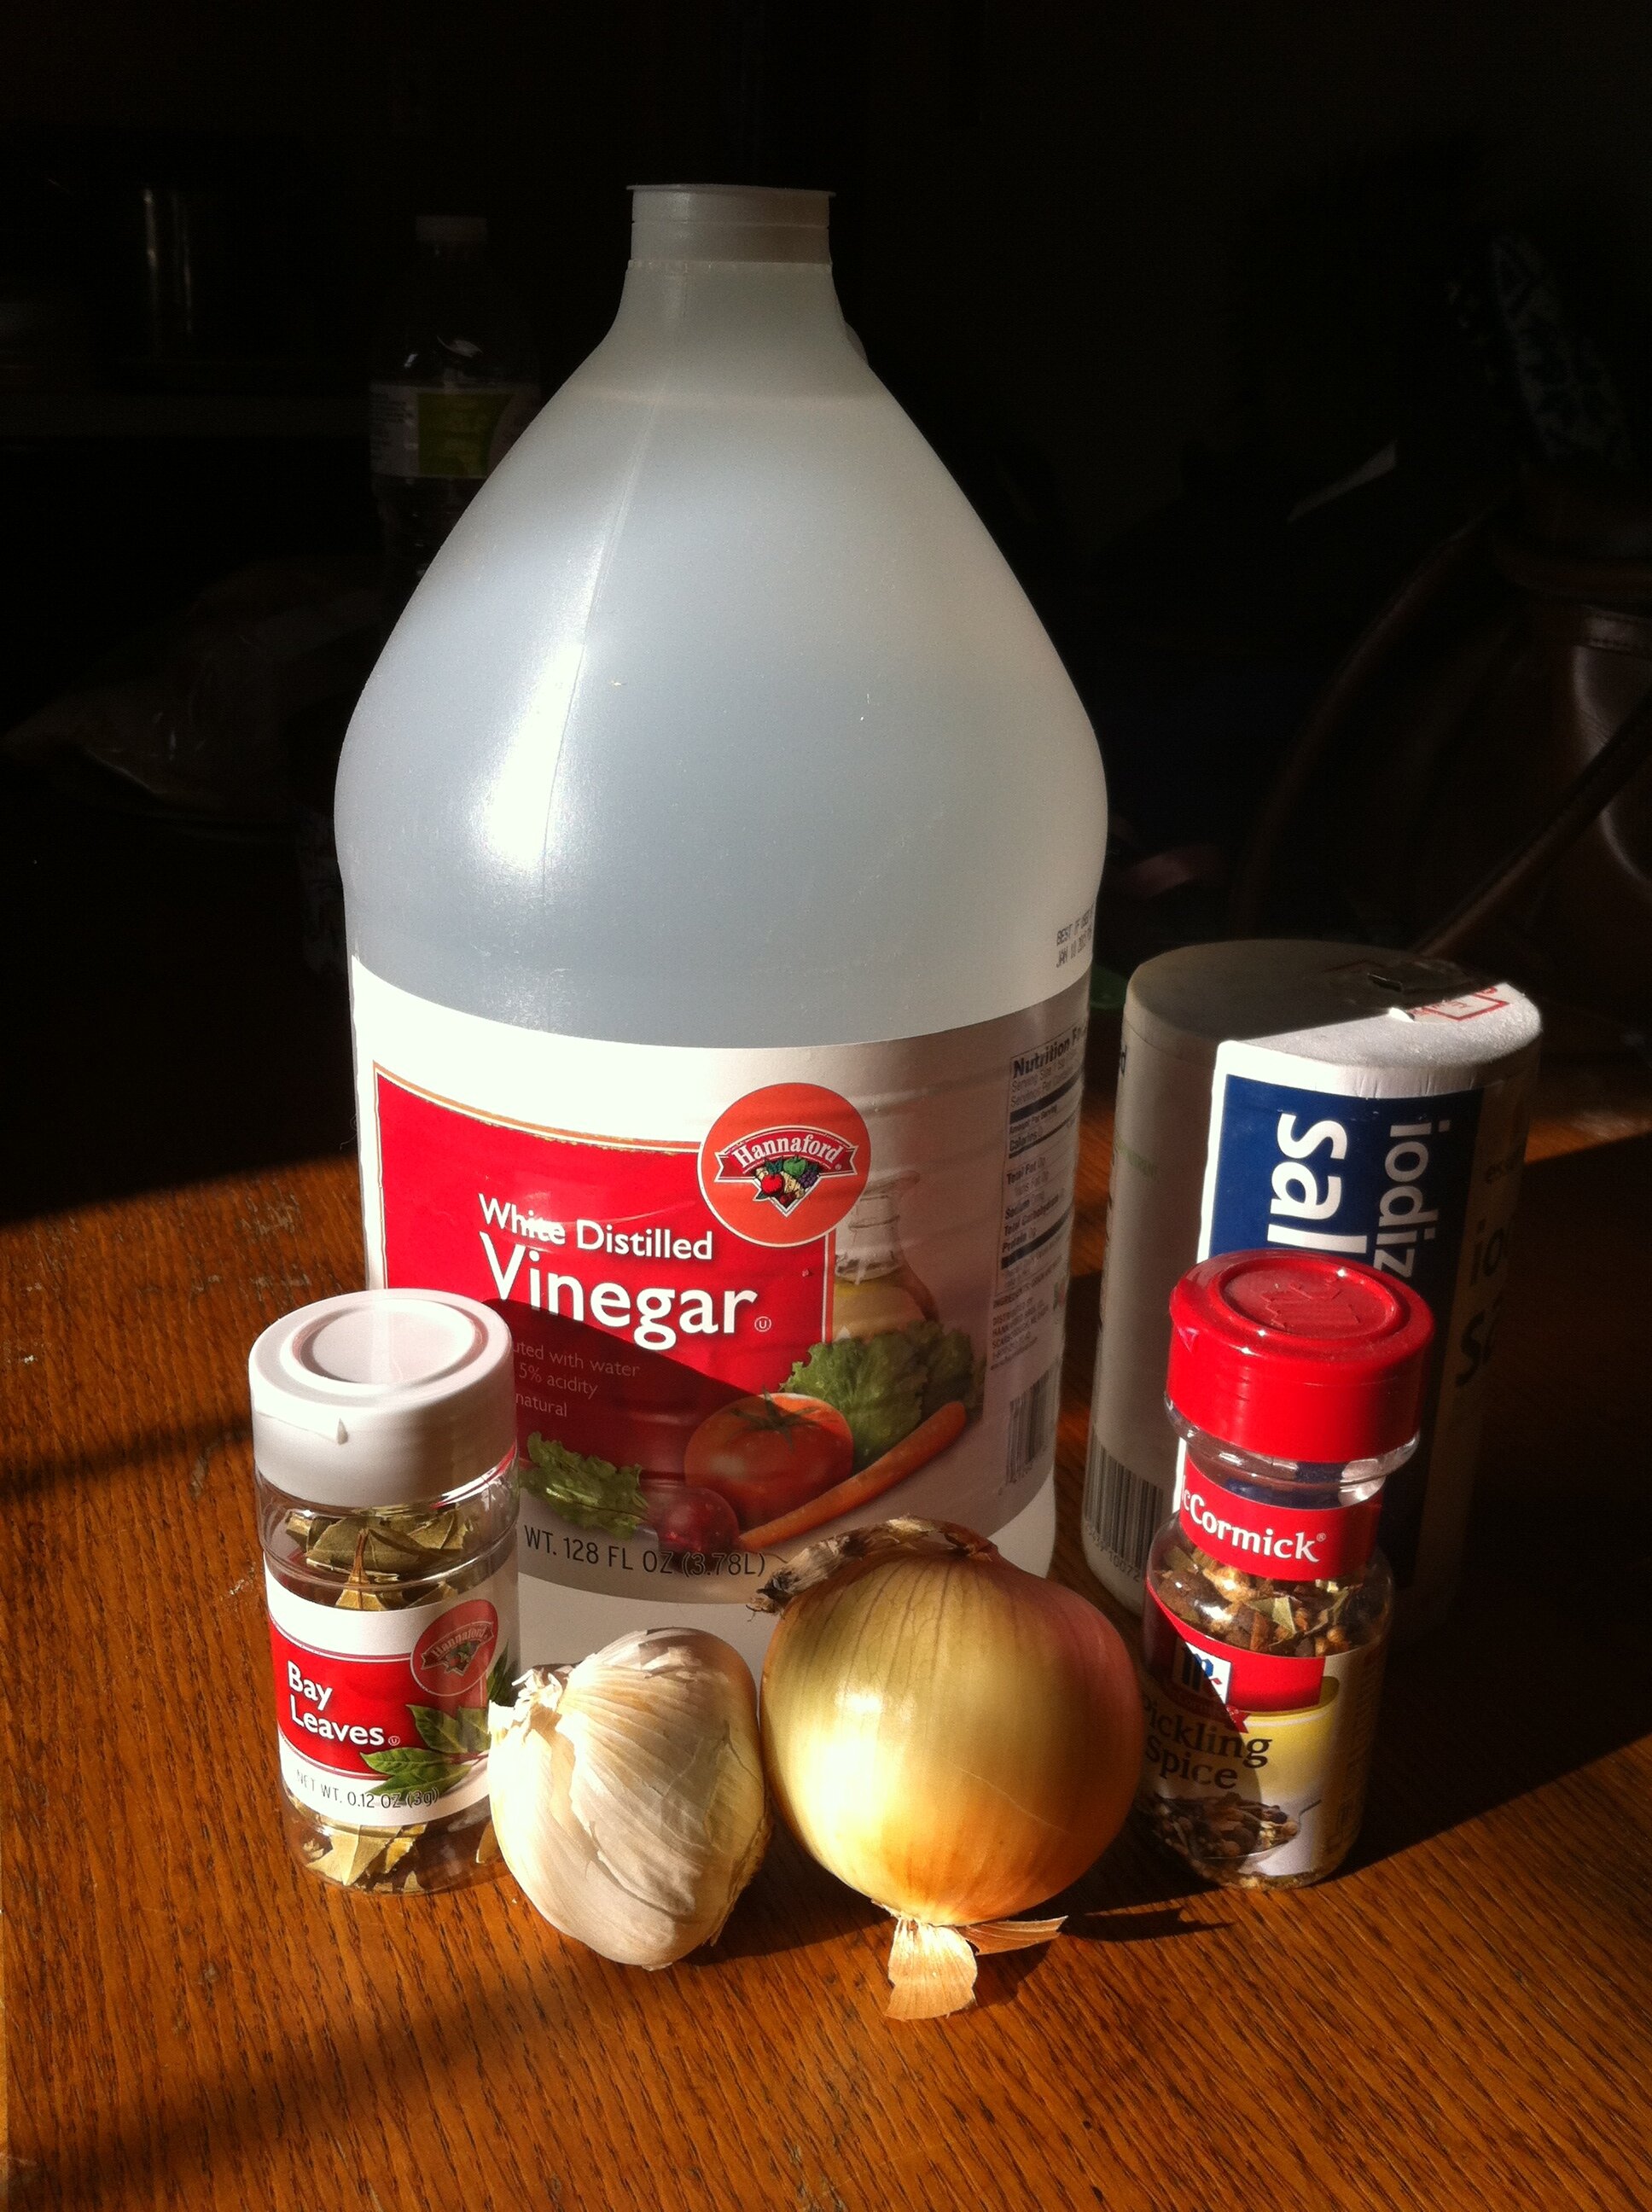
12-24 Large eggs
1 1/2 cups Distilled white vinegar
1 1/2 cups Water
1 Tbs. Pickling spice
4 cloves Garlic, slightly crushed
1 Bay Leaf
1 tsp. Salt
1 small Onion, sliced into rings
Pickled Eggs - Equipment
Canning jars (size your preference)
Stove
Pickled Eggs - Instructions
Place eggs in a large pot and cover with water. Bring eggs to a boil, cover, and let stand for 12 minutes. Empty hot water and replace with cold water, letting the eggs sit until they're cool enough to handle. Peel the eggs and set aside.
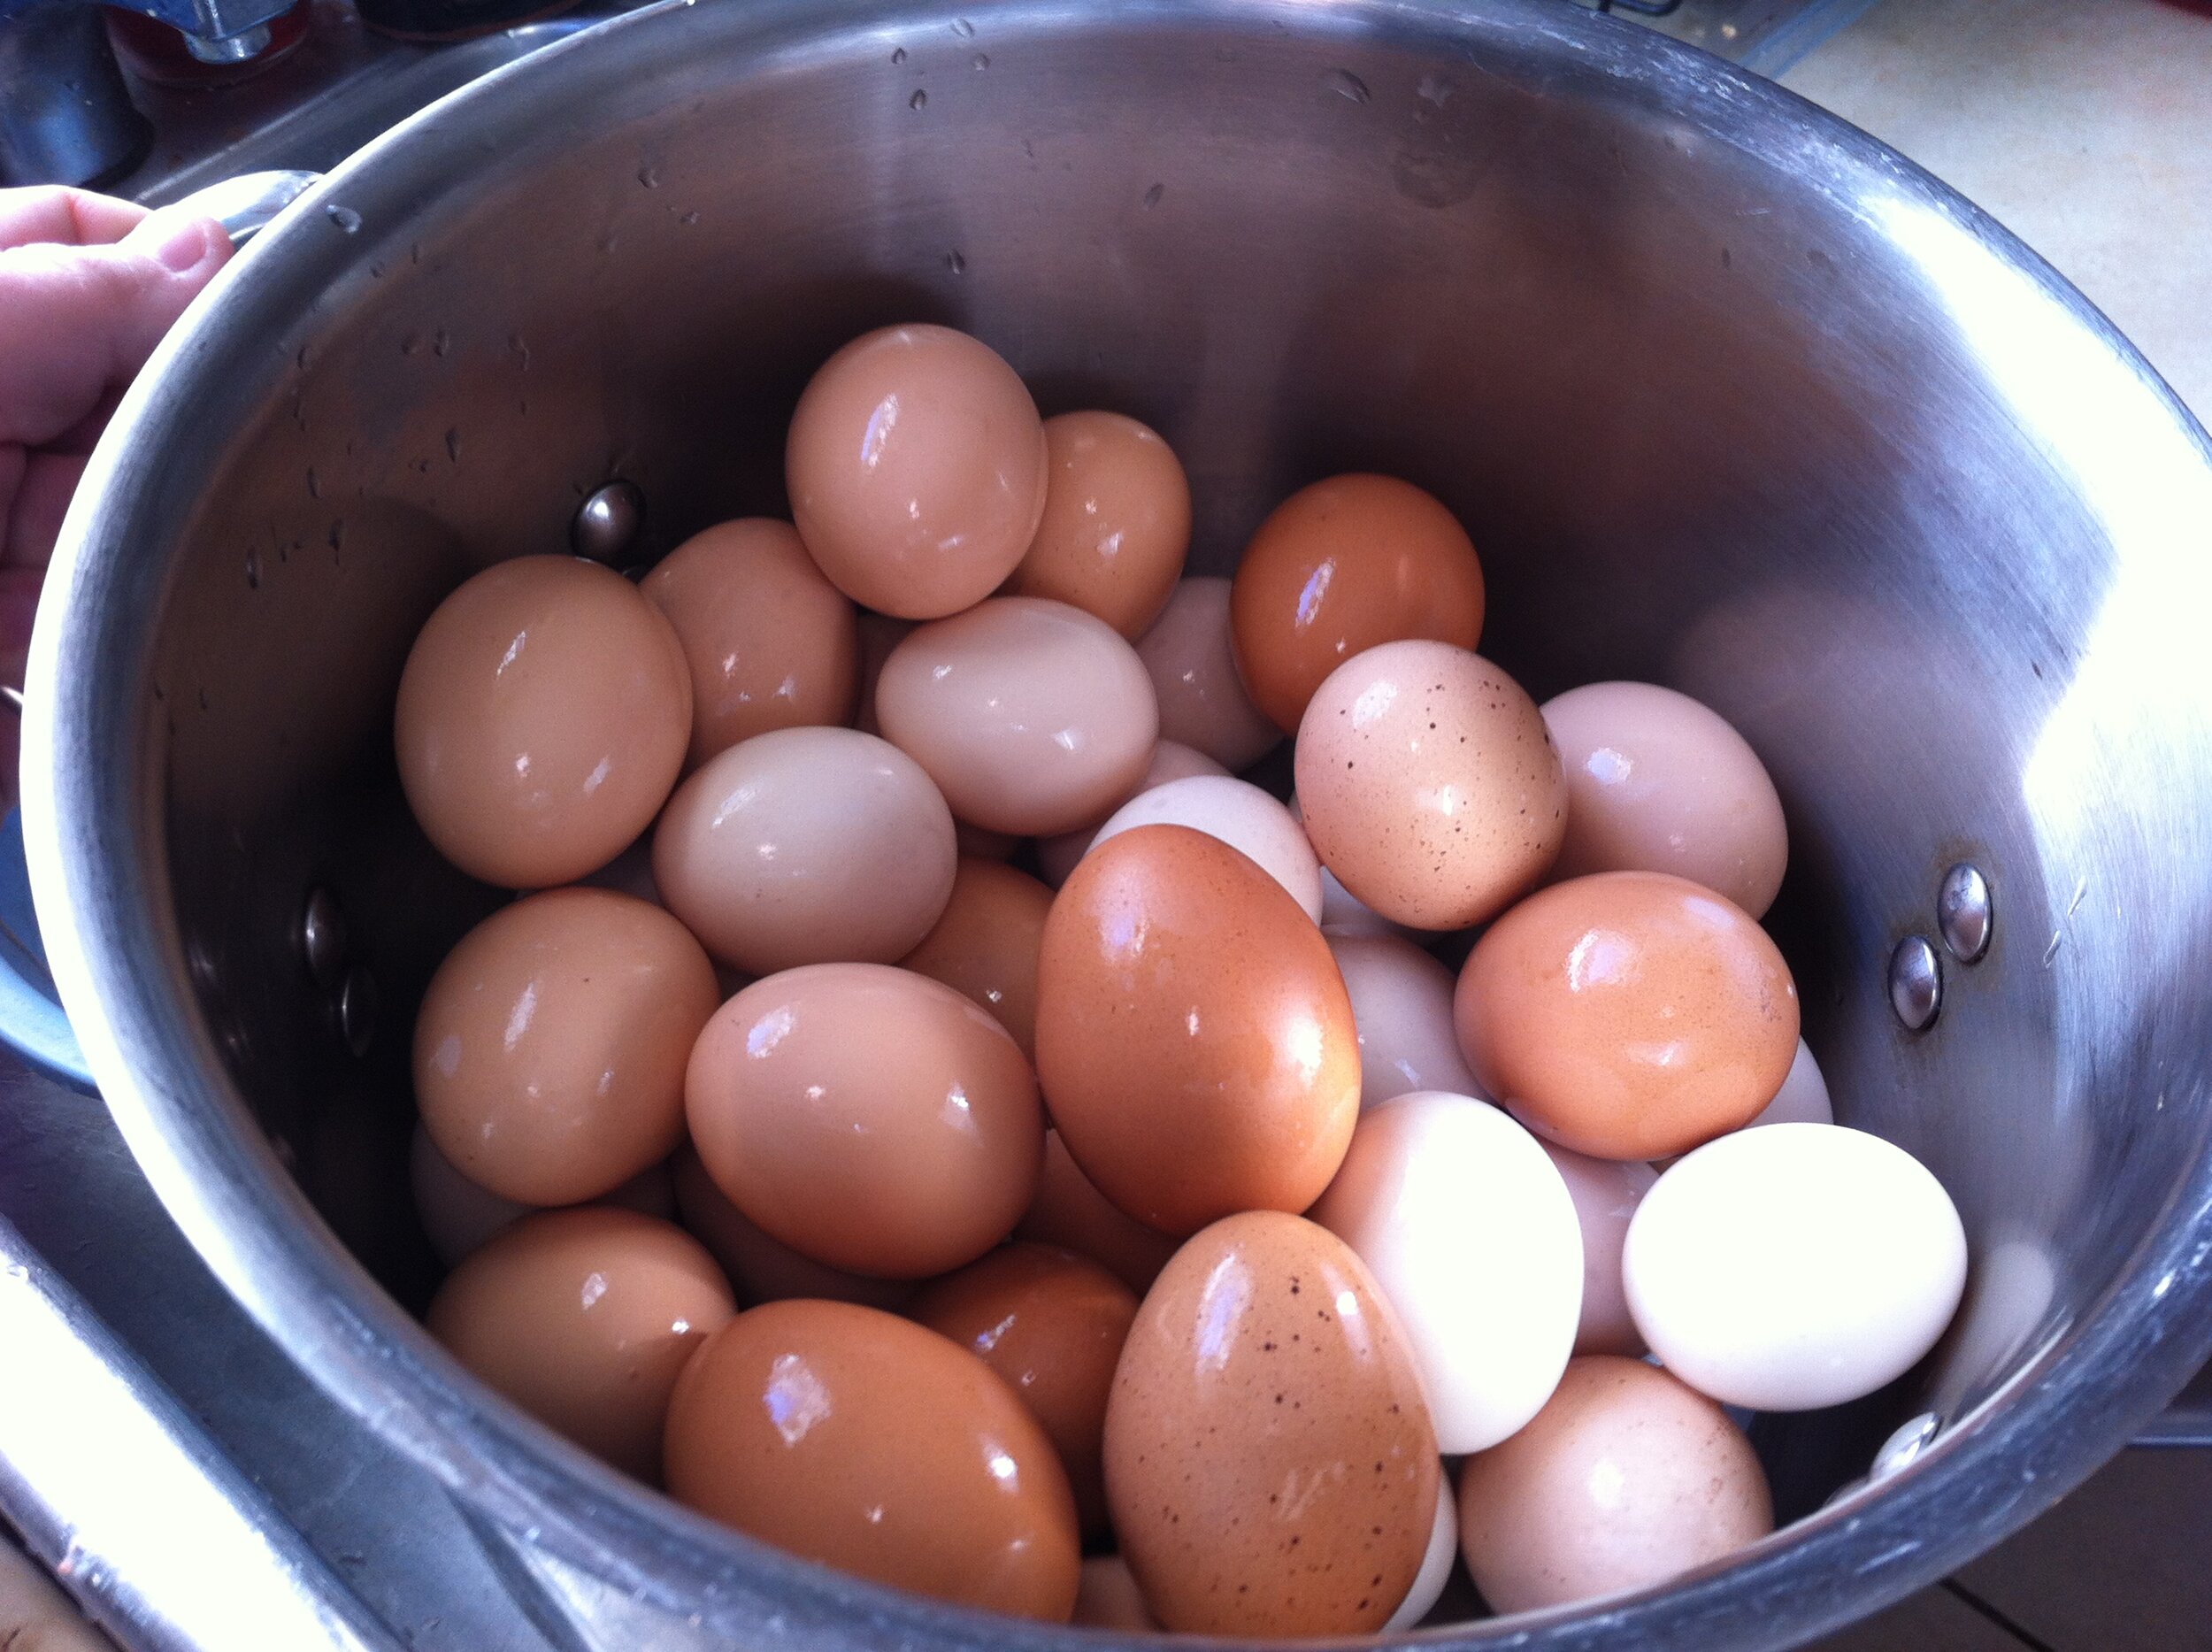
A pile of lovely eggs into the pot
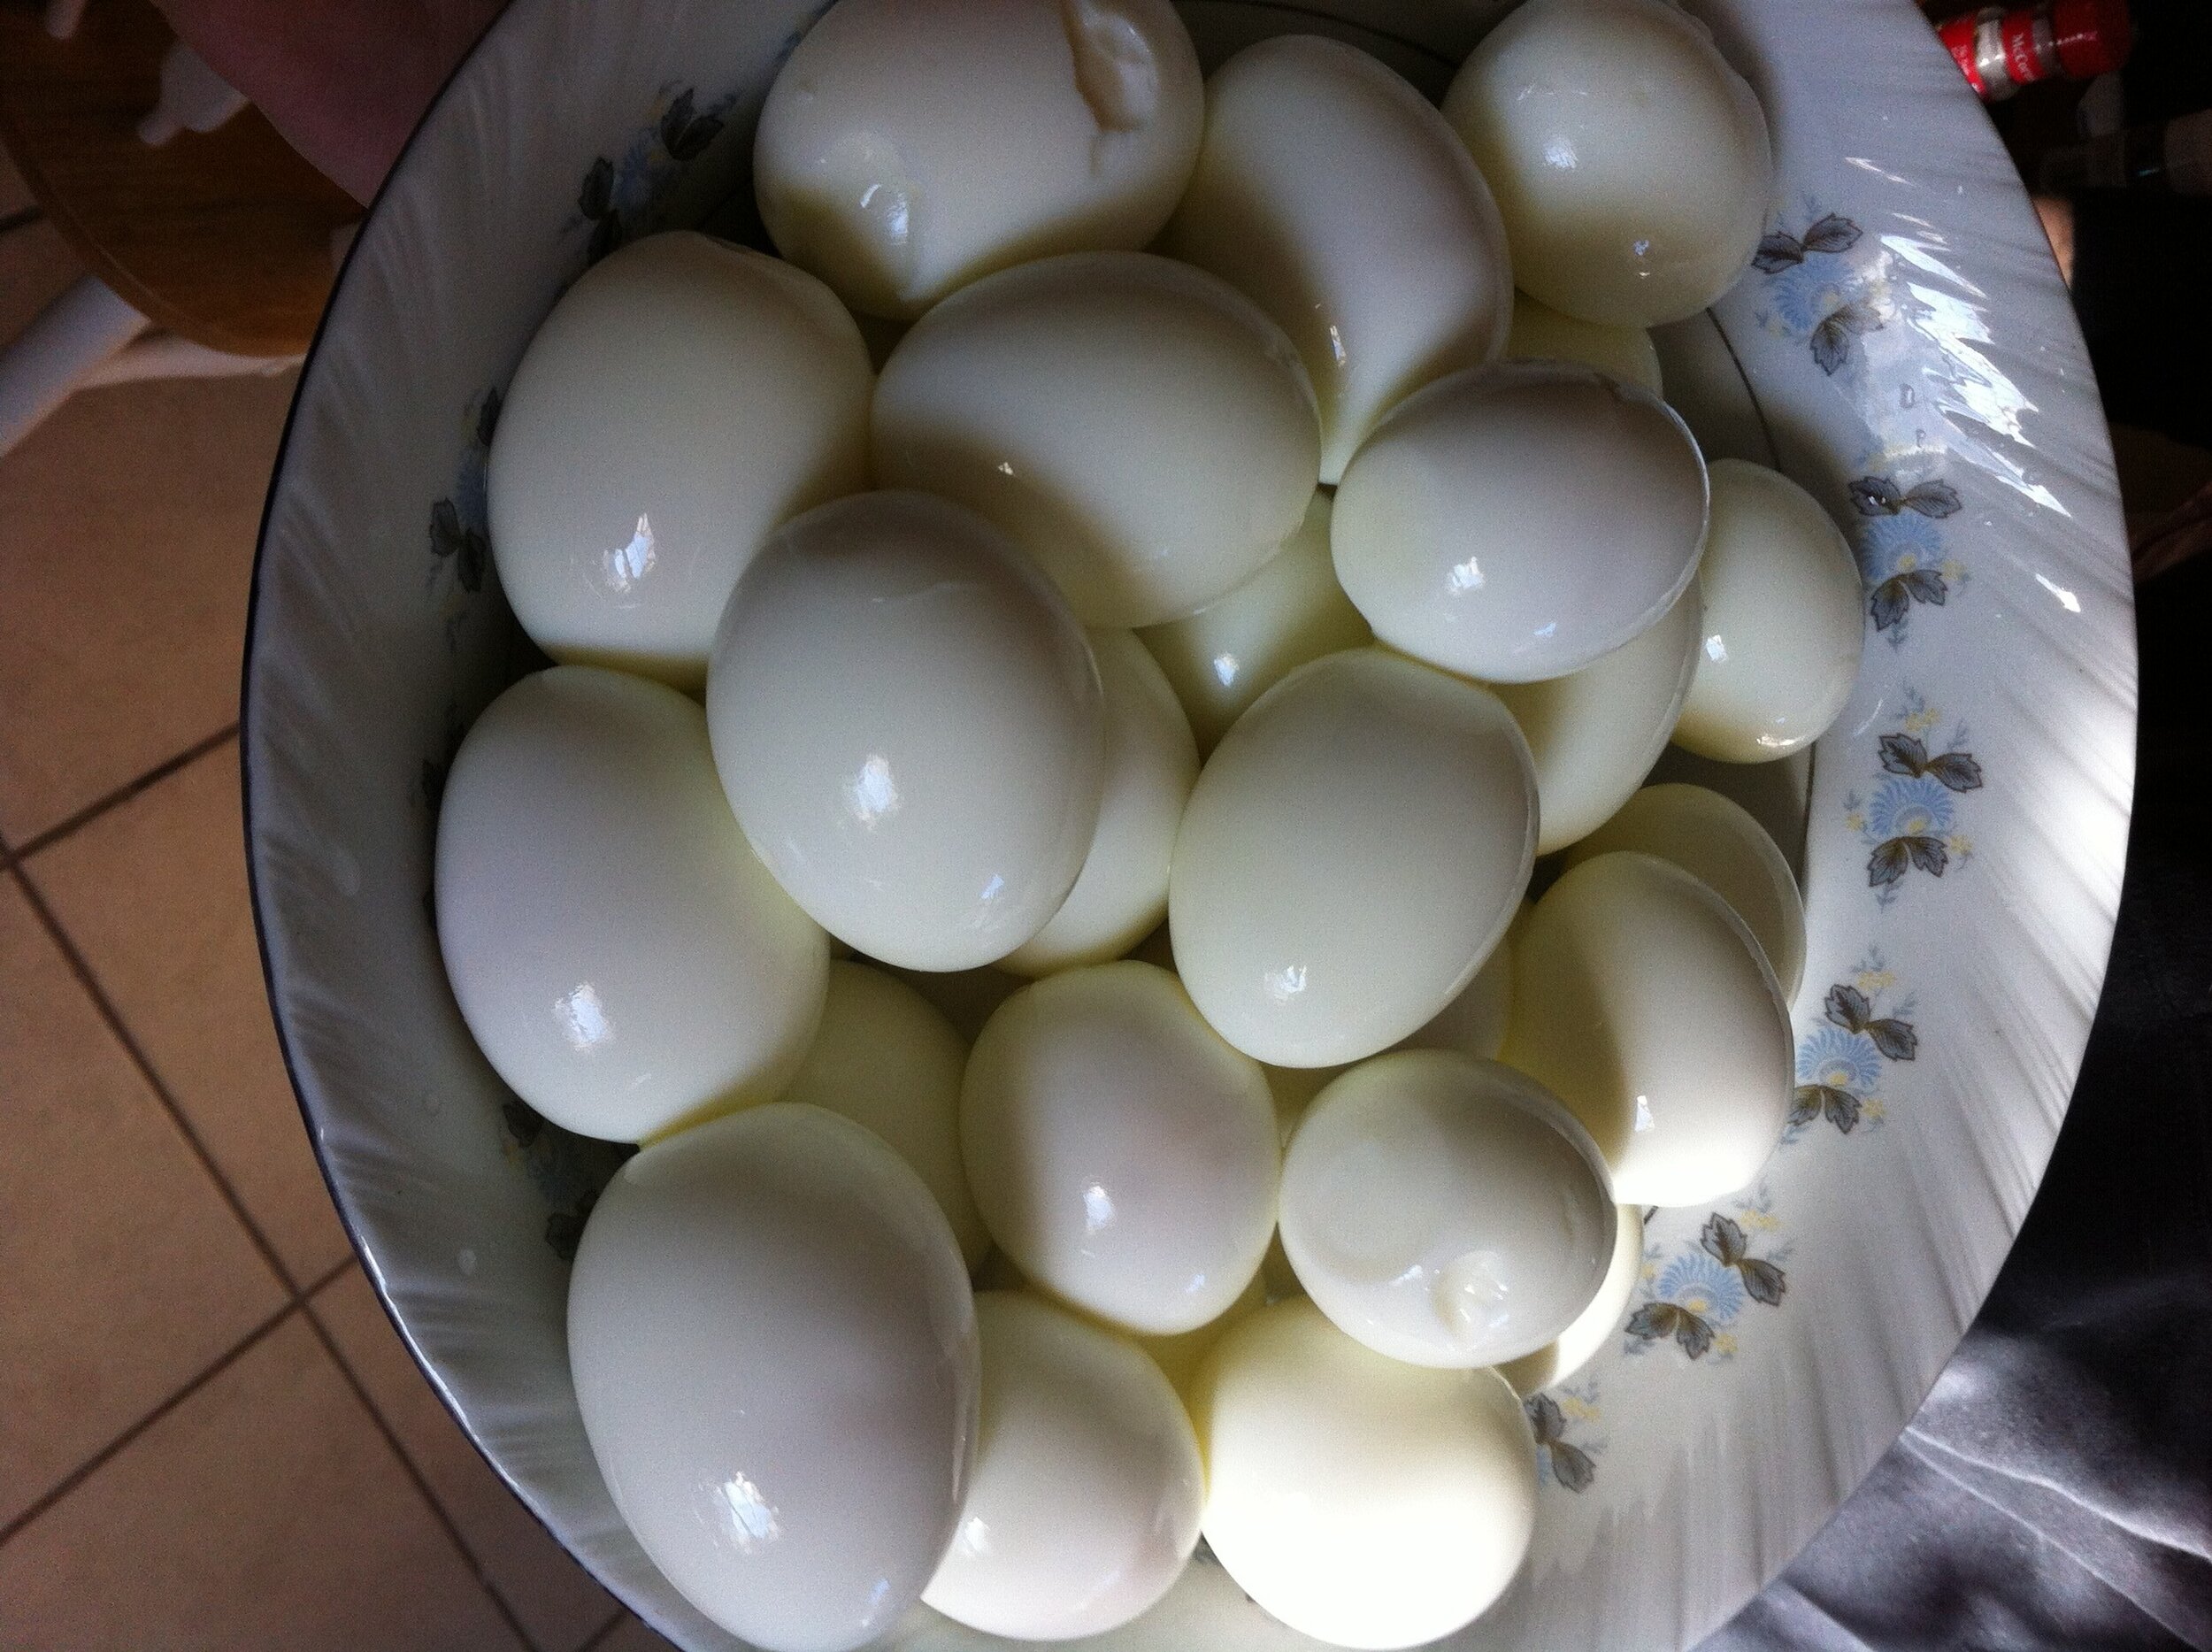
Hard boiled eggs, peeled and ready to go
In a medium sauce pan, over medium heat, combine vinegar, water, pickling spice, garlic cloves, bay leaf and salt. Bring to a boil, and let it continue to boil for two minutes. Remove from heat.
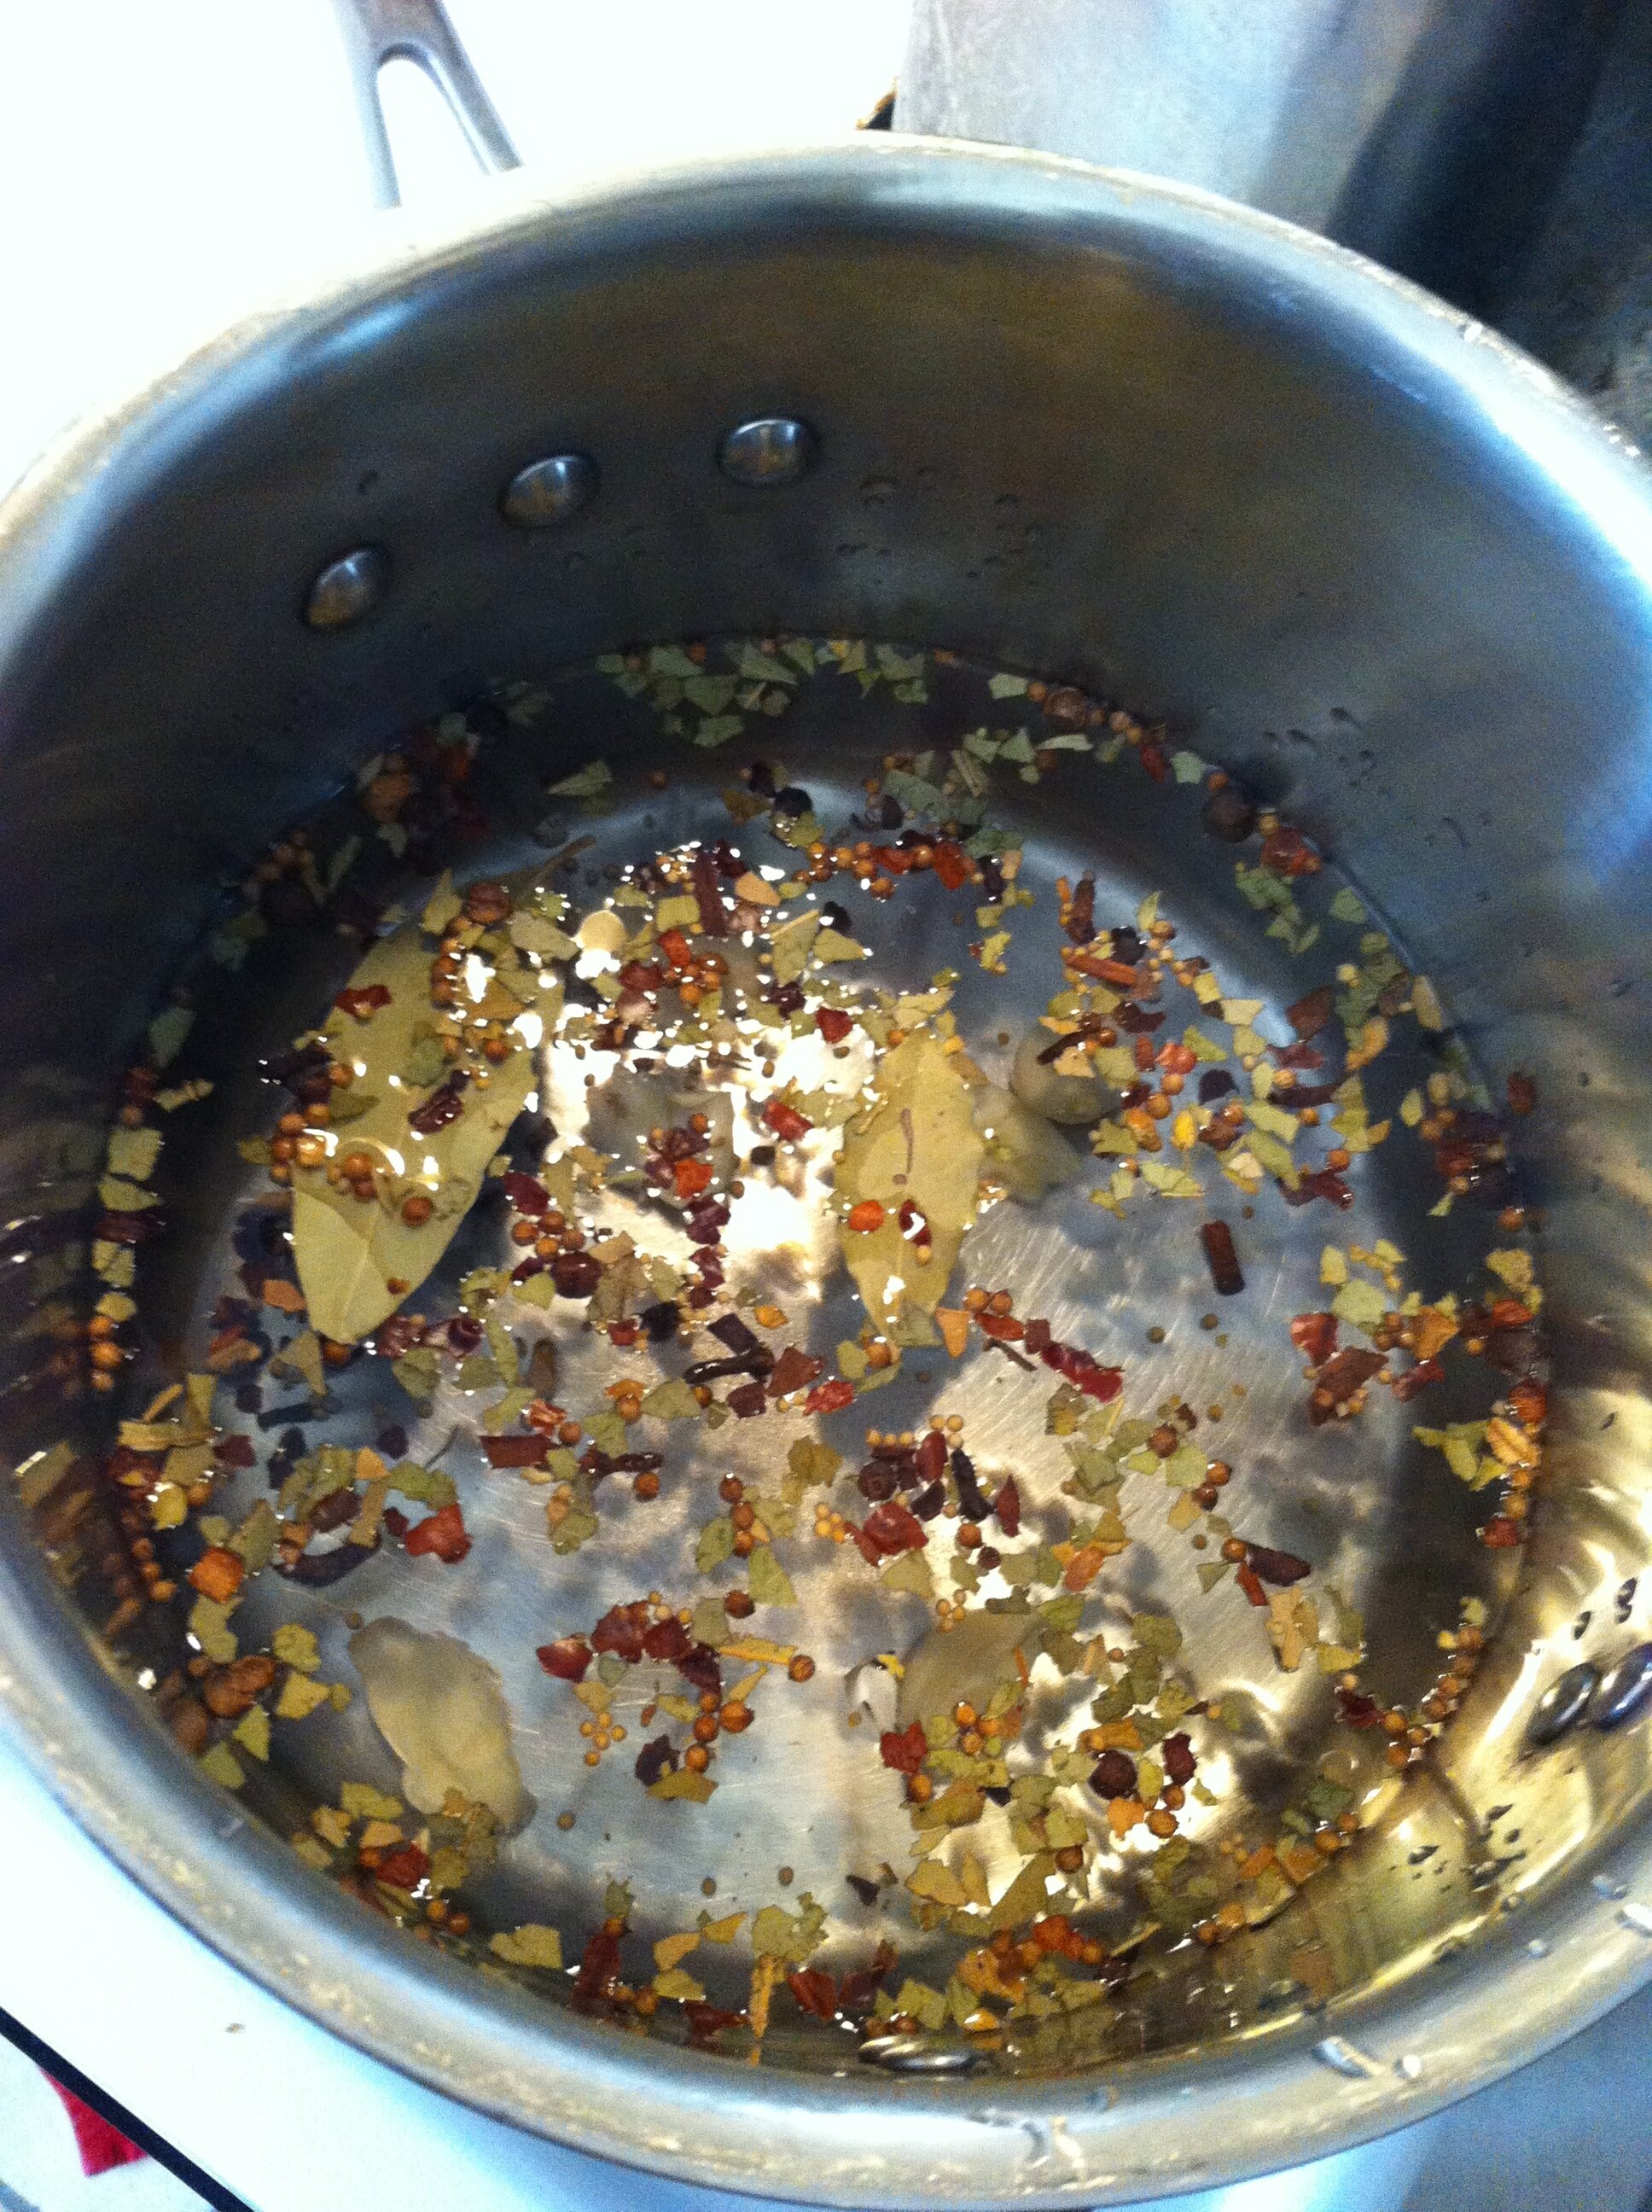
Making the brine
Into hot, sterile canning jars, place a few rings of onion. Follow this with as many hard-boiled eggs as will fit comfortably into your jar. Repeat this until jars, or eggs, are gone.
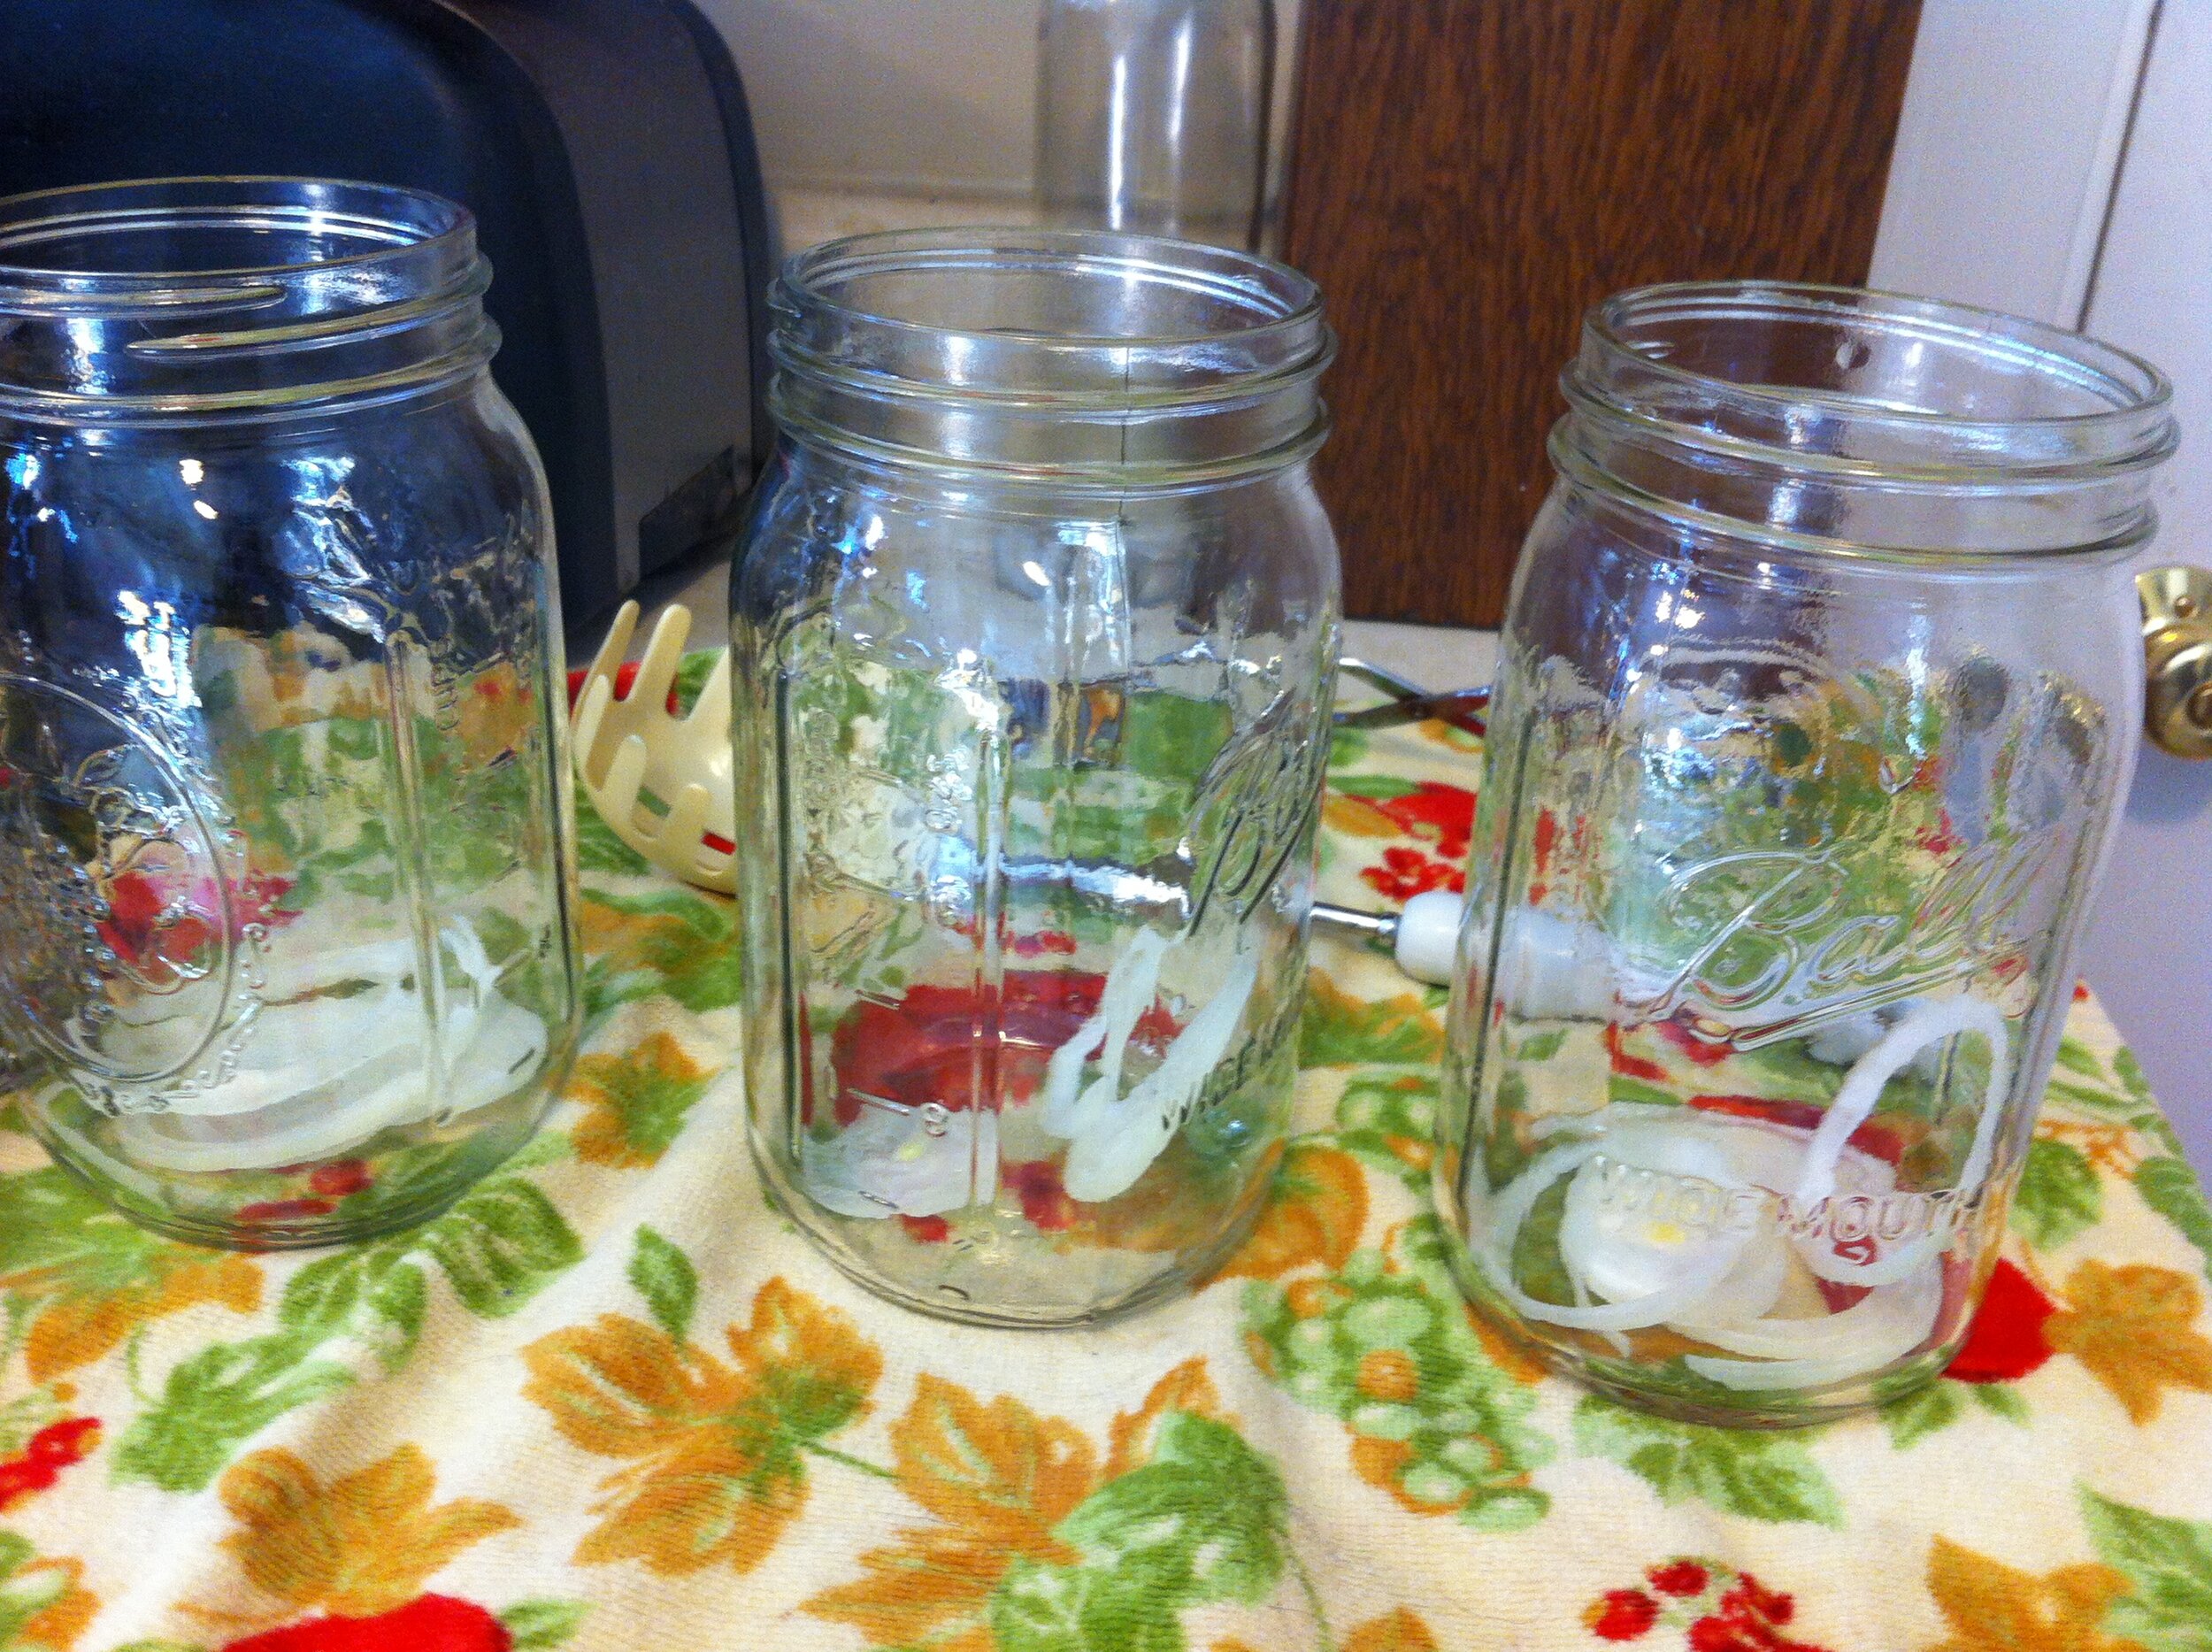
Pickled egg jars with onion rings
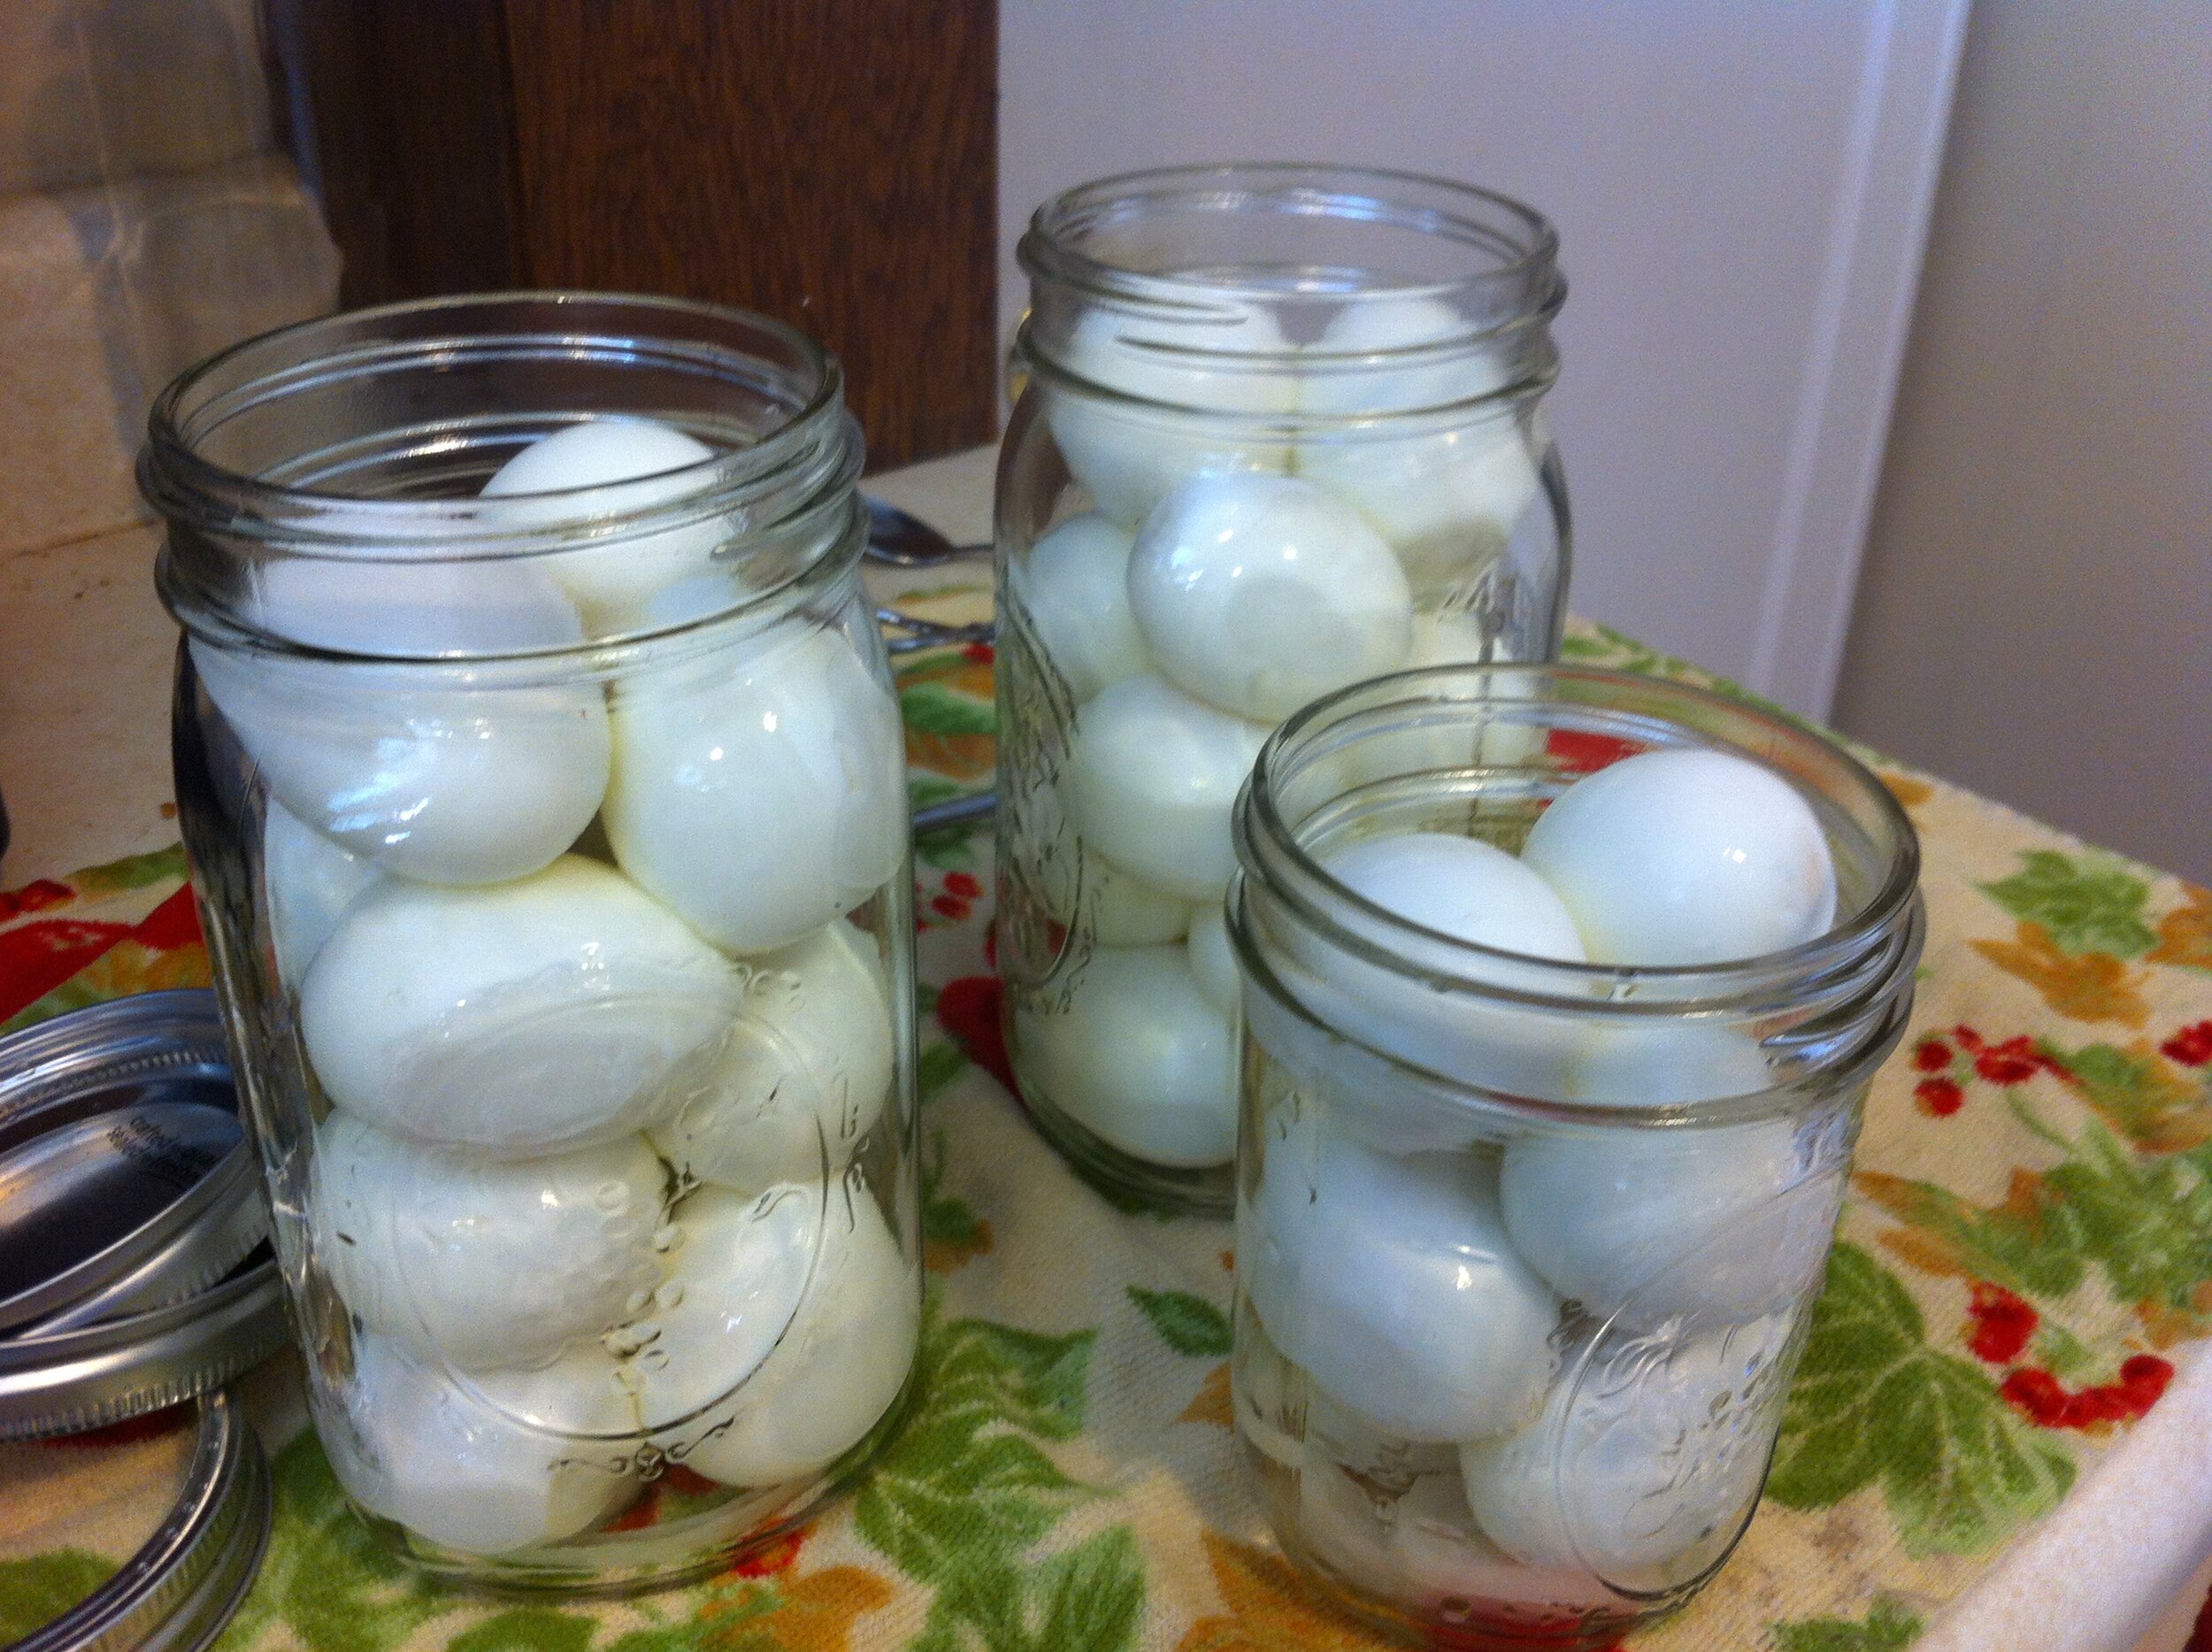
Eggs packed comfortably into hot, sterile jars
Ladle the hot brine carefully over the eggs and into the jar. Try to include at least one clove of garlic from the brine in each jar, and be sure to leave 1/4 inch head space.
Clean any drips from the rim of the jar, and screw the lids on tightly. Put jars into the refrigerator to set up. Wait 8-10 days minimum to allow eggs to brine. Refrigerated, these will last for 1-2 months (possibly longer - we usually eat them well before then!) I have done a water bath canning with these and found they were shelf-stable. However, I'm not an expert on canning proteins, so do so at your own risk with your skill set.
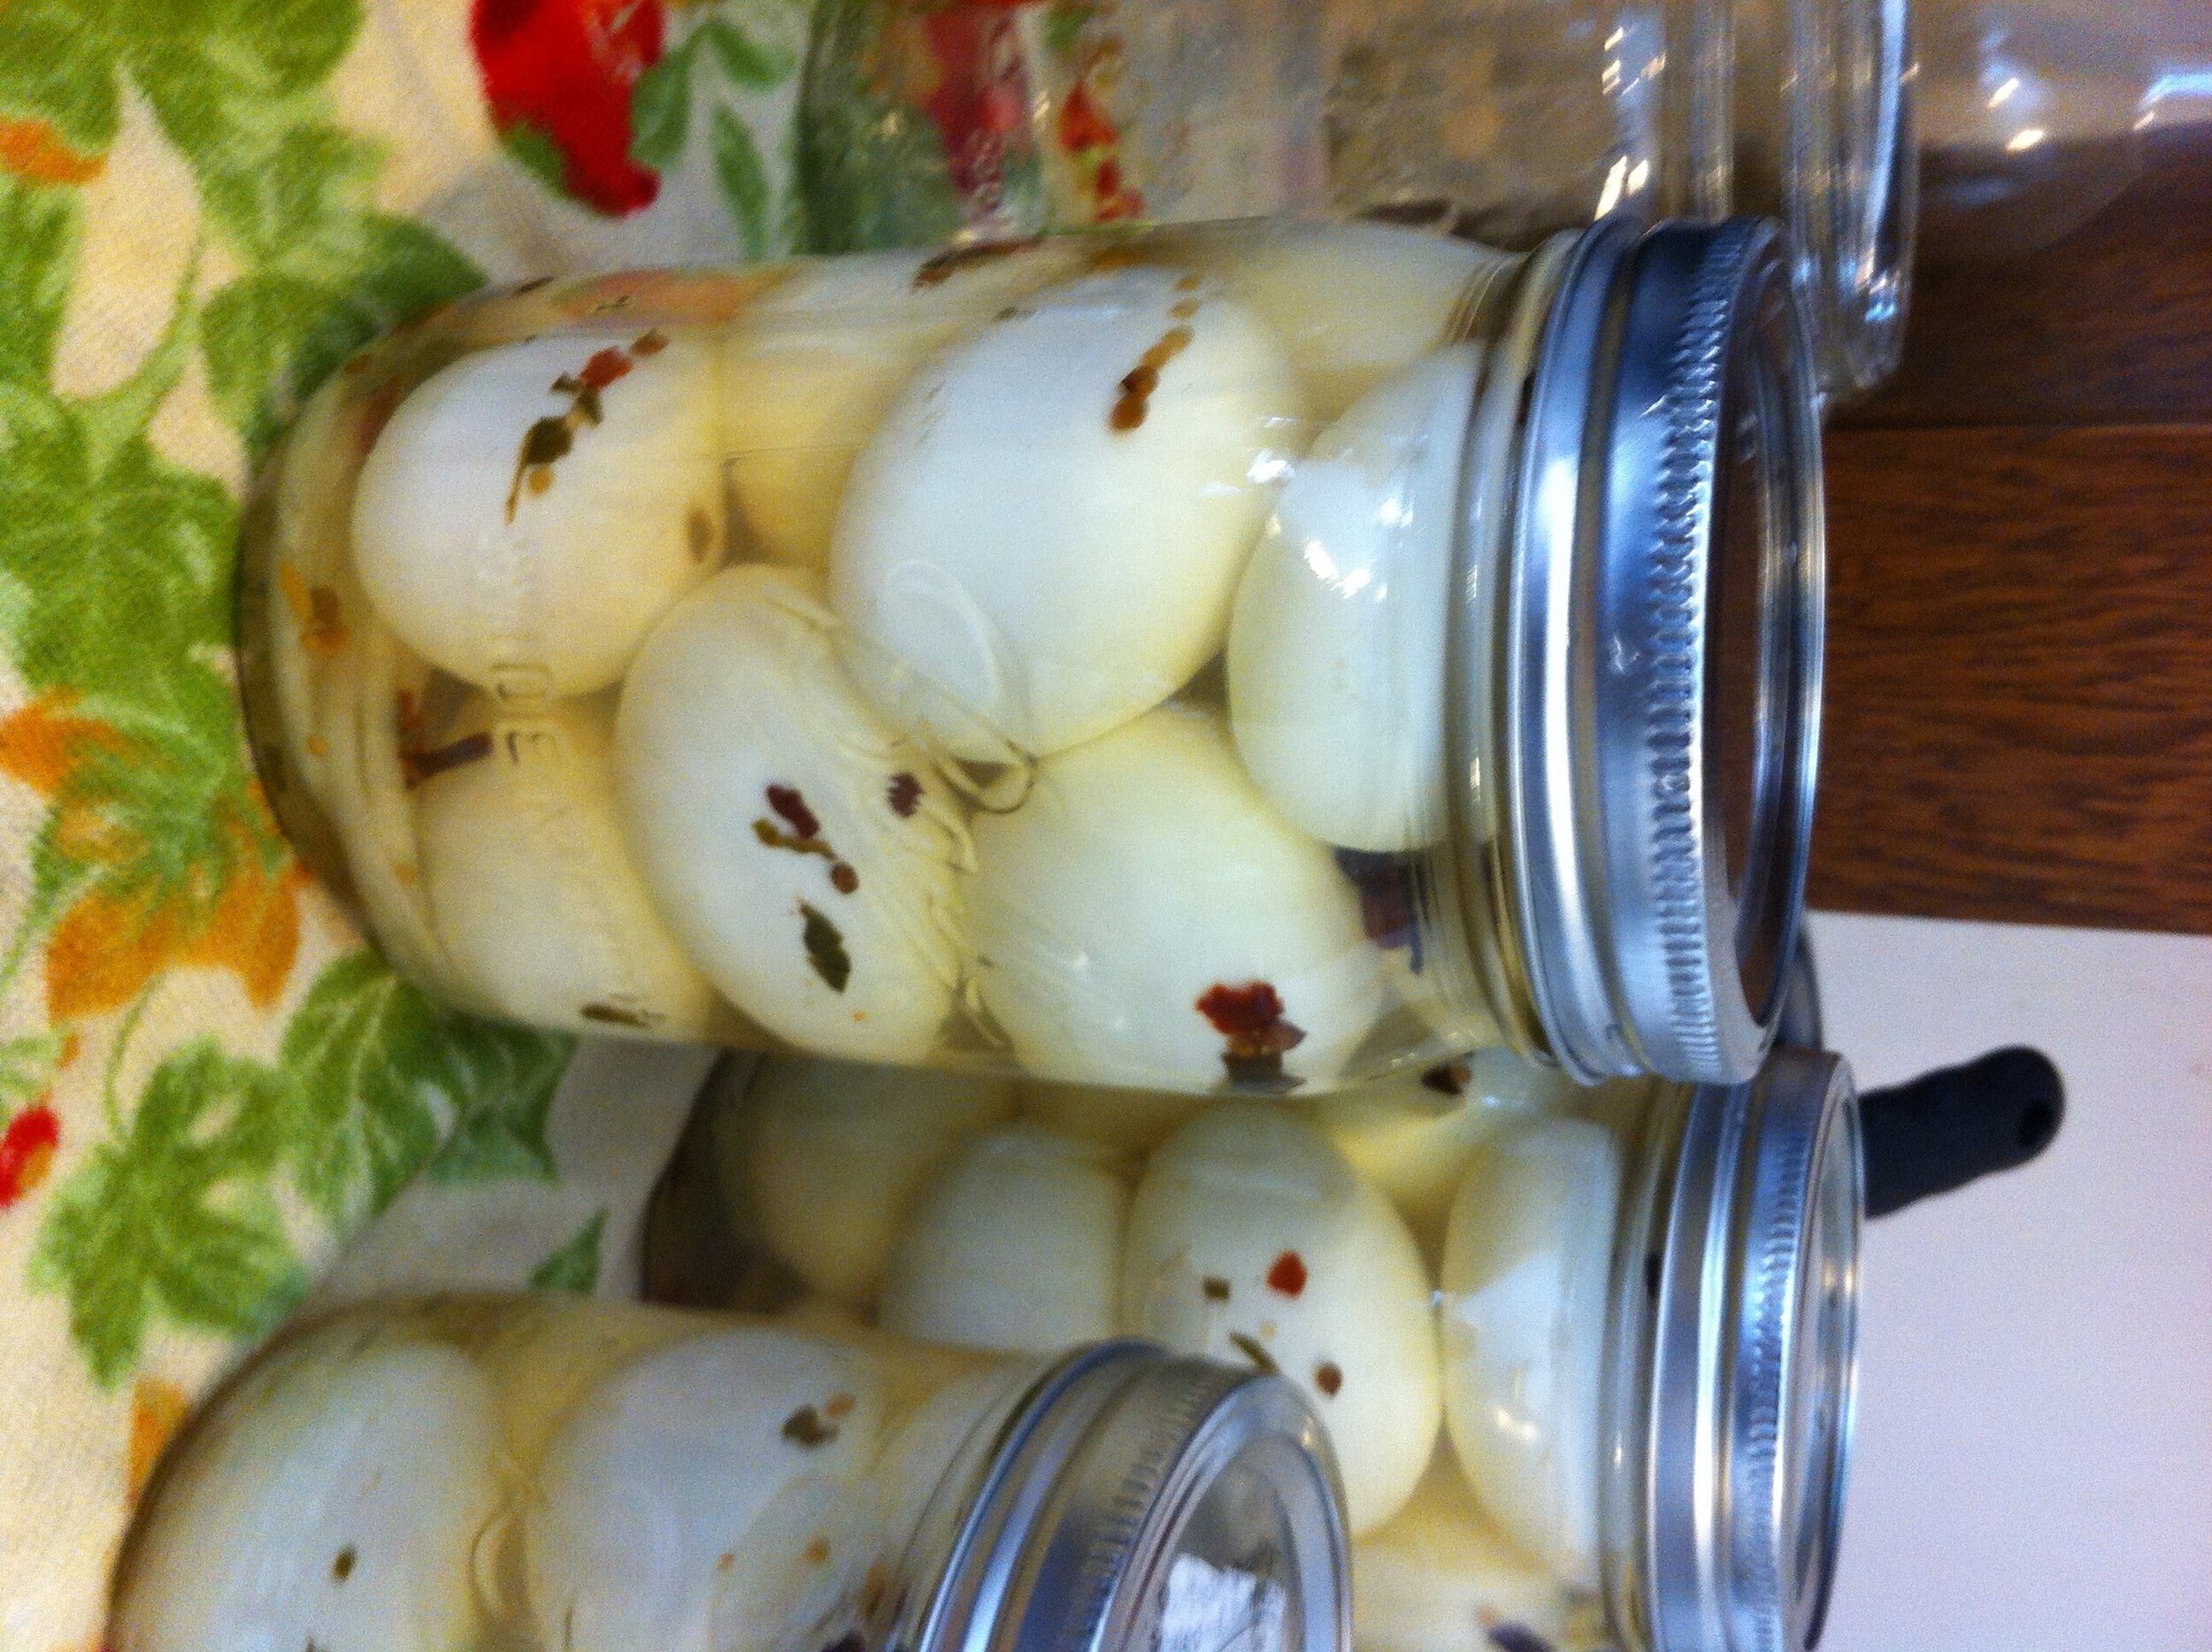
Viola! You have pickled eggs
Pickled Egg - Ingredients
12-24 Large eggs
1 1/2 cups Distilled white vinegar
1 1/2 cups Water
1 Tbs. Pickling spice
4 cloves Garlic, slightly crushed
1 Bay Leaf
1 tsp. Salt
1 small Onion, sliced into rings
Pickled Eggs - Equipment
Canning jars (size your preference)
Stove
Pickled Eggs - Instructions
Place eggs in a large pot and cover with water. Bring eggs to a boil, cover, and let stand for 12 minutes. Empty hot water and replace with cold water, letting the eggs sit until they're cool enough to handle. Peel the eggs and set aside.
In a medium sauce pan, over medium heat, combine vinegar, water, pickling spice, garlic cloves, bay leaf and salt. Bring to a boil, and let it continue to boil for two minutes. Remove from heat.
Into hot, sterile canning jars, place a few rings of onion. Follow this with as many hard-boiled eggs as will fit comfortably into your jar. Repeat this until jars, or eggs, are gone.
Ladle the hot brine carefully over the eggs and into the jar. Try to include at least one clove of garlic from the brine in each jar, and be sure to leave 1/4 inch head space.
Clean any drips from the rim of the jar, and screw the lids on tightly. Put jars into the refrigerator to set up. Wait 8-10 days minimum to allow eggs to brine. Refrigerated, these will last for 1-2 months (possibly longer - we usually eat them well before then!) I have done a water bath canning with these and found they were shelf-stable. However, I'm not an expert on canning proteins, so do so at your own risk with your skill set.
